 button, or press CTRL+I on the keyboard to import a file into a Didger project. This command opens the Import dialog so you can select the file to open in Didger.
Click the File | Import command, click the button, or press CTRL+I on the keyboard to import a file into a Didger project. This command opens the Import dialog so you can select the file to open in Didger.
The Import dialog appears after clicking the File | Import command.
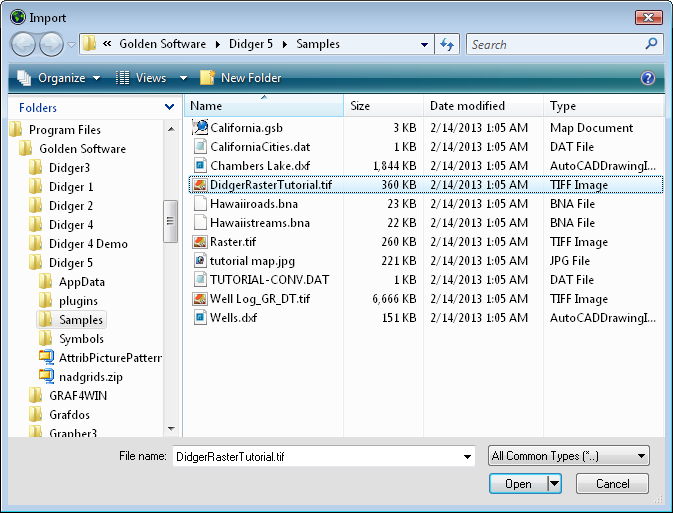
Select a file to import in the Import dialog.
The Look in field shows the current directory. Click the down arrow to see the directory structure and click on the folders to change directories.
The buttons to the right of the Look in field allow you to create new folders and change the view of the file list.
The file list displays files in the current directory. The current directory is listed in the Look in field. The Files of type field controls the display of the file list. For example, if Golden Software Boundary (*.GSB) is listed in the Files of type field only .GSB files appear in the files list. To see all files in the directory, choose All Files (*.*) from the Files of type list. Double-click on a file to open it or single-click the file and then click the Open button.
The File name field shows the name of the selected file, or type a path and file name into the box to import a file.
The Files of type field shows the file format to be opened. To change the file format, click the down arrow and select the file type from the list.
The All Common Types (*...) format type is selected by default. This displays all the file formats that are commonly imported with File | Import command. If a different format type is selected, the setting will be remembered until the end of the current session. When the program is restarted, the default format type will be used.
To see all files in the directory, choose All Files (*.*) from the Files of type list. Double-click on a file to open it or single-click the file and then click the Open button. The All Files (*.*) option shows all of the file formats in the current directory, even if the file type is not appropriate for the action chosen.
For a list of all file types supported by Didger, see the File Format Chart. After selecting a file in the Import dialog, an Import Options dialog may appear. Click the  button in the Import Options dialog for additional help on the specific file format options.
When an image is imported, any projection information is automatically imported. The Image Registration and Warping dialog appears, allowing for the reference information to be changed, allowing for an unreferenced image to be referenced, or allowing a coordinate system to be assigned to the image.
When a data file is imported, the Import Data File dialog appears. The Import Data File dialog allows X and Y coordinates to be selected, the attributes can be set, and the data can be imported as separate points or as a single post map.
When an image, vector file, or data file is imported, the limits will automatically expand. The new project limits will show all objects already existing in the project and all new objects being imported.
When the Preserve Project Limits During Import option is checked in the Project Limits and Scale dialog, the limits will not automatically change after importing new objects. The limits and scale will stay at the values set in the Project Limits and Scale dialog. Click the Map | Project Limits command after importing new objects to expand the limits.
See Also