Customize buttons for commands in the Button Appearance dialog.
You can customize Didger button images in the Button Appearance dialog.
Click the View | Toolbars/Managers | Customize command to open the Customize dialog. Once the Customize dialog is open, right-click on the menu command or toolbar button you want to change the appearance of, and select Button Appearance to open the Button Appearance dialog.
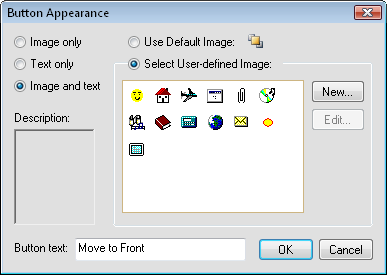
The Button Appearance dialog allows you to use a predefined image or create a new image.
Customize buttons for commands in the Button Appearance dialog.
Select Image only if you would like the button appearance to only display an image.
Select Text only if you would like the button appearance to only display a text description.
Select Image and text if you would like the button appearance to have an image and text description.
Specify the text description in the Button text area.
The Select User-defined Image area displays current button images available for use or editing.
Click the Edit button to open the Edit Button Image dialog.
The Edit Button Image dialog allows you to create a new image or edit a current image.
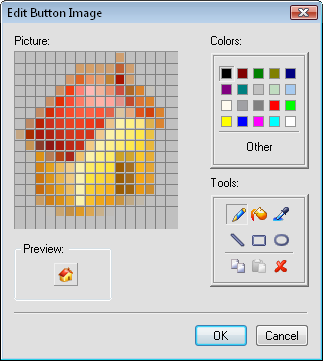
Create new or edit current button images
in the Edit Button Image dialog.
Change the color of the pixels in the Picture area to create a new image or edit a current image.
The image created in the Picture area is displayed at full size in the Preview area. This is a preview of what the image will look like when used in the program.
Use the Colors area to specify a color to change the pixels of the Picture area and create or edit a button image.
Choose from one of the preset Tools to help create or edit a button image. The tools available include:Pencil, Fill, Select Color, Line, Rectangle, Ellipse, Copy, Paste, and Clear.
See Also